A Real Estate Timeline For Transactions: How To Manage All Your Critical Transaction Dates

Whether you're a broker, real estate agent, or transaction coordinator, you know that missing even the smallest step of the selling and buying process could result in a costly disaster.
That's why understanding the real estate timeline is so critical. There are over 180 steps in the real estate transaction process, depending on your state's requirements, and missing one could mean your deal falls through.
Among these, only a handful of essential milestones signify critical events in the closing process.
In this article, we'll explain which critical due dates are the most vital to the real estate transaction process, how to track these, and how to share them with your team and clients.
Who We Are and Why We Wrote This Guide
At Paperless Pipeline, we've spent over ten years helping the country's top real estate brokerages, teams, and independent transaction coordinators simplify real estate transaction management.
The articles we produce and share with the real estate community are best practices developed alongside over 90,000 industry professionals who trust Paperless Pipeline to help recruit staff, grow their business, and close every real estate deal.
If you haven't tried Paperless Pipeline, don't worry! This article, and every other resource we produce, is written to help you grow your real estate business regardless of whether or not Paperless Pipeline is the best product for you. If you're looking for a way to get started with managing your real estate timeline, here's a sample spreadsheet to help you get started→
What Are Critical Real Estate Transaction Milestones and Key Dates?

Real estate transaction milestones and key dates are two distinct requirements. Both are important and must be managed precisely from contract to closing.
Each real estate transaction milestone is a completed step that signifies a new stage of the deal. For example, the sales, contract, and closing process are each stage or milestone in the overall transaction.
A transaction key date requires the completion of specific events on or before it. For example, an inspection deadline occurs once the home and pest inspections are complete.
In other words, a milestone is met once the required steps have been completed on or before the key date.
A Real Estate Transaction Timeline Template

We've put together this real estate transaction timeline template that provides all the key dates and milestones during a deal so that nothing falls through the cracks:
Stage one: Sales
The first phase of the transaction process is sales, which is a crucial time for both the buyer and the seller.
It takes about 30 to 90 days to sell a property. This can vary based on factors like the local market conditions and the type of property being sold.
For the buyer, this stage involves house hunting, finding the right property, and making an offer. For the seller, it's about listing their property and considering offers.
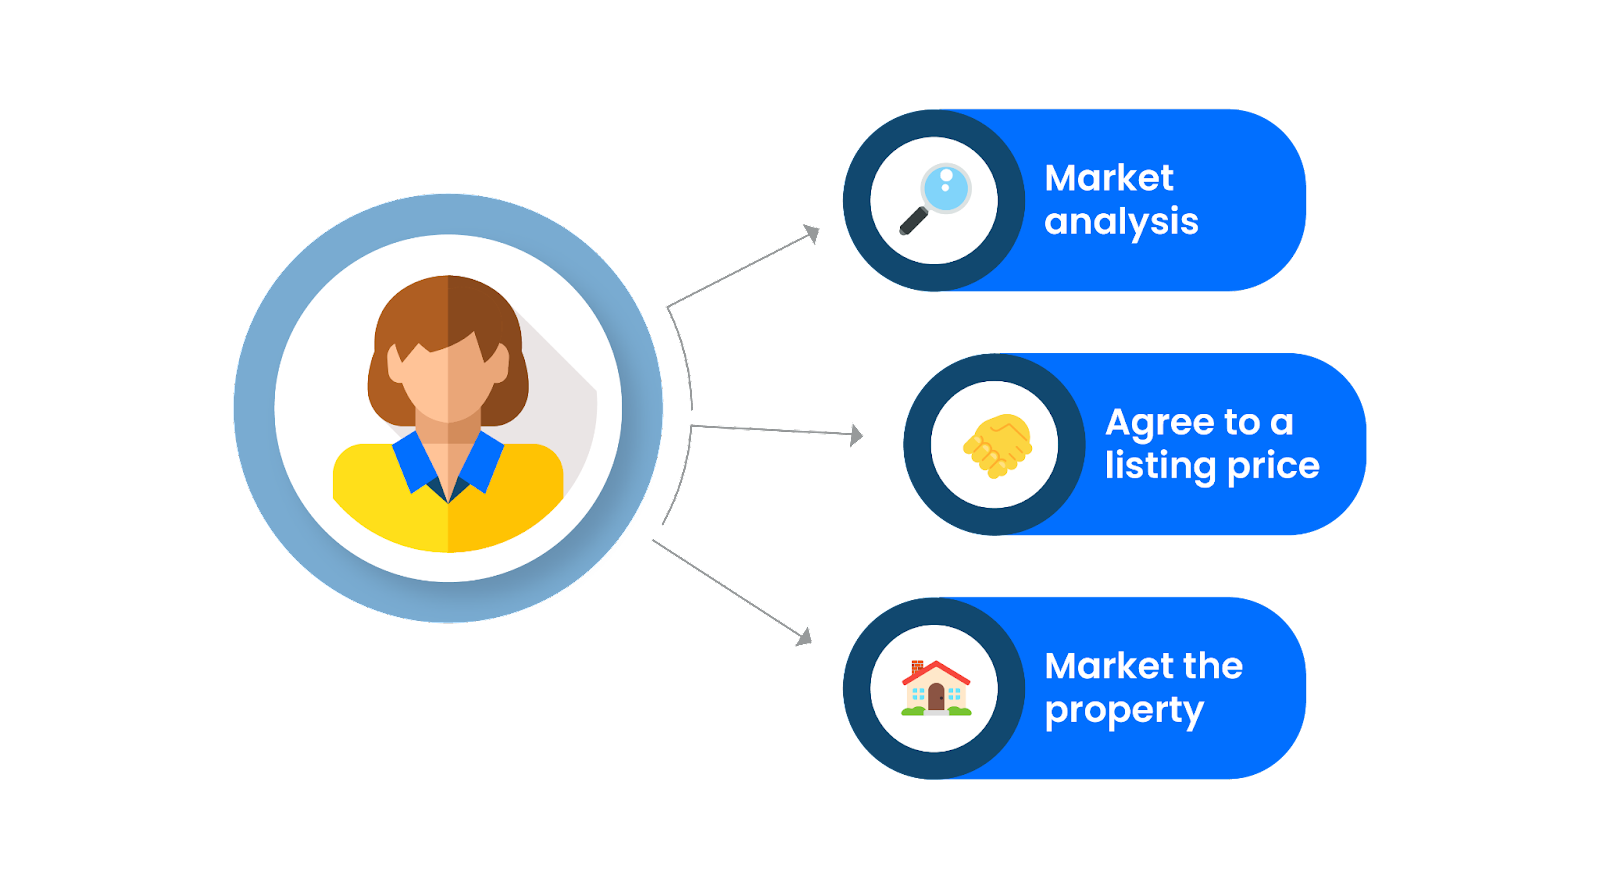
Seller
Here's what this part of the process looks like for the seller:
Market analysis
Use your comparative market analysis (CMA) tool to estimate the property's market value compared to similar ones in the area.
Agree to a listing price
Present your suggested listing or sales price to the seller and ask them to sign off on it. You're now ready to hit the market!
Market the property
Take some professional photographs of the property and list them on your multiple listing service (MLS). You can also arrange to advertise, host open houses, and book private home showings.
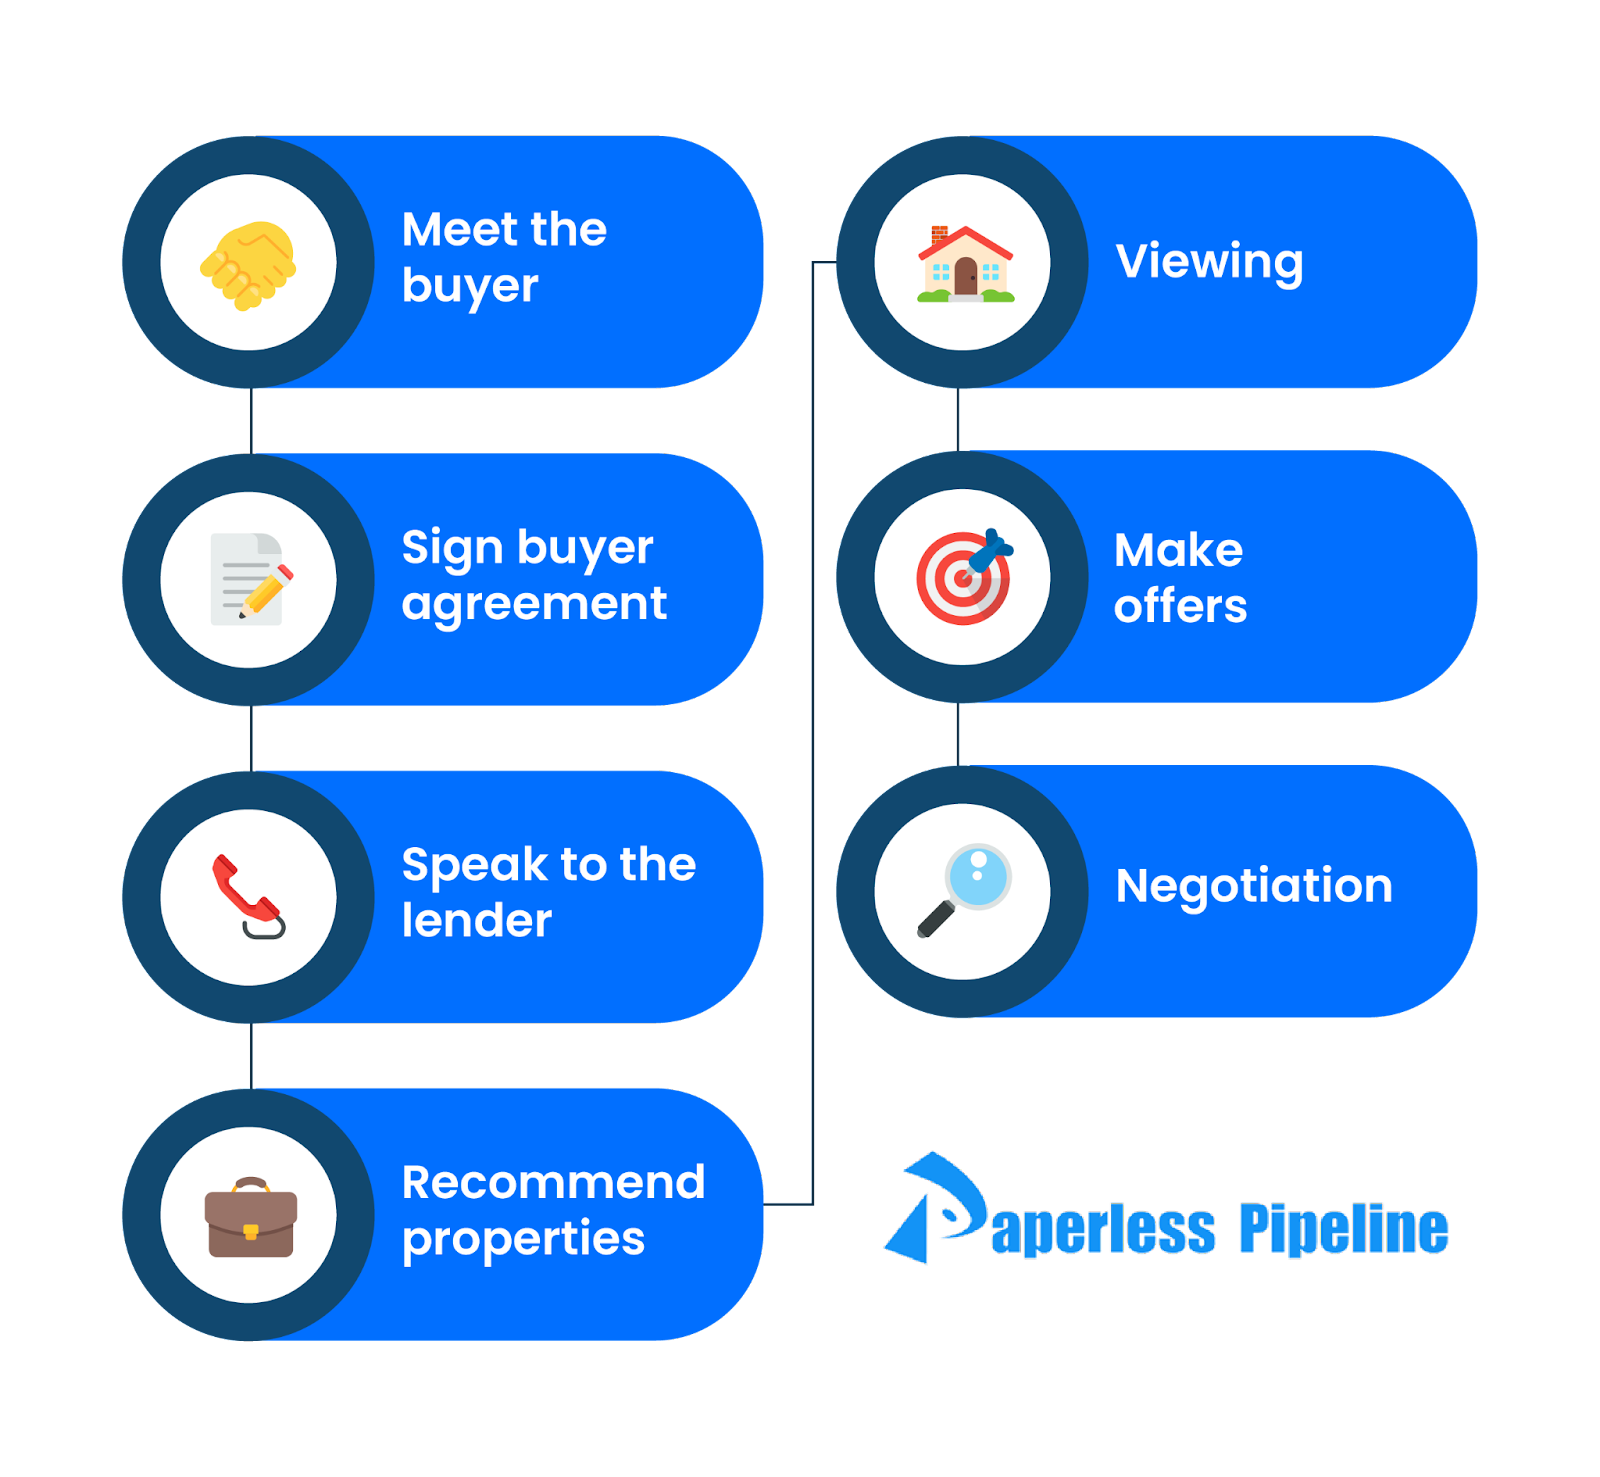
Buyer
Now it's time to consider the buyer in this part of the home-buying process:
Meet with the buyer
Meet your buyer face-to-face to find out:
- What they're looking for.
- Their budget and finances.
- The considerations that drive their property desires.
These answers will help you decide whether you're the right agent for them and how you can help them search for their dream home.
Sign the buyer agreement
Before you take a buyer out to view properties, they should ideally sign an agreement that they commit to working with you. Otherwise, they could easily switch to another real estate professional, and all your hard work will be wasted.
Speak to the lender
Next, your client needs to speak to a mortgage lender. The lender will determine how much the buyer can afford to borrow. The average down payment on a house for a first-time buyer is around 8%.
The lender will recommend an action plan if the buyer does not qualify for the amount they wish to borrow. This includes strategies for improving their credit score, like making down payments on off-store cards.
Recommend properties
This next step is when your property search begins. Use the information you've gathered from your client to search for properties that meet their requirements and preferences.
About half of home buyers search for properties for less than three months, but 13% shop for seven months to a year.
Send the buyer a list of all properties that meet their criteria and ask them to narrow it down to their top five.
Viewings
Take your client to visit the top three properties on the list. Ensure you find out what they like and don't like about each property. These preferences can help you find more properties for them to view if they aren't satisfied with the ones you show them.

Make offers
If your client likes one or more of the properties they viewed, they need to make an offer.
An offer shouldn't just cover the cost of buying the property itself; it should also include details like:
- Your client's terms.
- The settlement date.
- The deposit they can put down.
- Any contributions they would like the seller to make.
- Closing costs.
Based on the above, the buying agent creates a purchase contract, which is then sent to the selling real estate agent.
Negotiation
In this step, the two agents negotiate the deal on behalf of their clients. The seller will recommend to their client whether to accept, counter-offer, or reject the sale contract. The buying agent then consults with their client and responds on their behalf.
This can happen several times until the respective parties agree on a home's purchase price and terms. Once the negotiation step is completed, the deal enters the contract phase.

⚠️ Critical Deadline
All the elements of the next phase must be completed by the date specified in the purchase agreement. If they aren't, then the deal could fall through.
Stage two: Contract
Here's where deals begin to get complicated. When a contract is signed, it triggers many concurrent deadlines for several different processes. Let's take a closer look at each process:

The escrow process
- You must open an escrow account with the title search company as soon as the contract is signed. You'll need to send them a copy of the contract, along with the earnest money deposit.
- Once the escrow account is opened, the seller is responsible for submitting all required disclosures to the title company. These disclosures include legal and financial information about the property that could impact its title or ownership.
- Once the title company has received a copy of the home inspection report, they begin the title search and issue a title report.
Insurance
The buyer contacts their insurance provider to get homeowner coverage. This is a vital step in the process, and you should be prepared to send reminders to your clients about getting homeowners insurance before the deal continues.
Appraisal and loan approval
- The buying real estate agent sends the lender a copy of the contract. The mortgage lender will immediately schedule an appraisal of the property to ensure that it is worth the amount it is lending, which typically takes a week.
- Next, the mortgage company checks that the property details provided to them by the buyer during pre-approval still check out and correspond with the property.
- If the lender approves the appraisal and loan, they will issue a clear-to-close notice shortly before closing.
The inspection
- Once the contract has been signed, the buyer's agent orders a home inspection.
- The inspector submits their report, and if any repairs need to be made, the buying agent submits an addendum to the listing agent.
- A copy of the home inspection report is also sent to the title company and the real estate attorney.

⚠️ Critical Deadline: The Inspection Period
You typically have around ten days after a contract has been signed to conduct this inspection and submit any repair requests to the listing agent. The post-inspection negotiation period is an additional one to two weeks after the inspection.
The seller's requirements
- The seller must provide all necessary property disclosures to the buyer's agent. These disclosures are critical for ensuring transparency and protecting both parties in the transaction.
⚠️ Critical Deadline
You usually have around five days after a contract has been signed to submit disclosures to the buying agent.
- The seller must coordinate with the buyer's agent to allow property inspectors access. This step ensures the buyer can conduct due diligence and verify the property's condition.
Final negotiations
Once all the above steps have been completed, the buyer and seller have one more chance to enter into negotiations over any repairs. Once this step is completed, the closing process begins.
Stage 3: The closing process
If all six processes above have been completed by the agreed closing date, the closing process can begin. This involves the following steps:
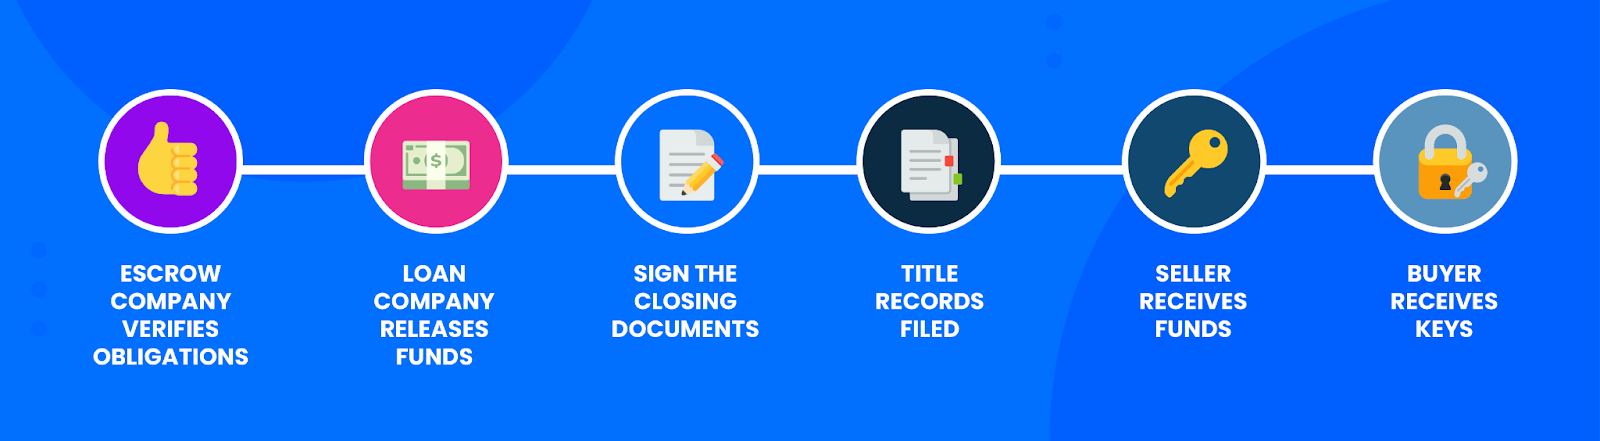
- The escrow company ensures that all conditions outlined in the purchase agreement are met. This includes verifying that the buyer has deposited the required funds, the seller has provided all disclosures, and any contingencies (such as repairs or inspections) have been satisfied.
- Once the escrow company confirms that all conditions are met, the buyer's loan company (if applicable) releases the loan funds to complete the purchase. This process is known as "funding the loan."
- Before the closing, the buyer and their real estate agent conduct a final walk-through of the property. This ensures that the home is in the agreed-upon condition and that any negotiated repairs have been completed.
- At the closing, all parties gather to review and sign the necessary documents to finalize the sale. This includes the deed, loan documents, and settlement statement, which outlines all financial details of the transaction.
- After the documents are signed, the title company submits the deed and other necessary paperwork to the county recorder's office to officially transfer ownership. This step is known as "recording the title," and it ensures that the buyer's ownership is legally recognized.
- Once the title is recorded, the escrow company disburses the funds from the escrow account. This includes paying the seller the proceeds from the sale, less any deductions such as outstanding mortgage balances, taxes, or fees.
- With everything finalized, the buyer receives the keys to their new home. This marks the official transfer of possession. Depending on the terms of the agreement, the buyer may receive the keys immediately or on a specified move-in date.

How to Track Your Key Dates and Real Estate Transaction Milestones
Tracking milestones and key dates is perhaps the most important part of the transaction process.
If a key date comes up without all the required steps being completed, a milestone is unlikely to be met, which may cause significant delays and frustration—or worse, result in the deal completely falling through.
There are three ways you can track everything:
1. Personal tools

If you have a new brokerage and are just getting started, spreadsheets and calendars connected to your current email accounts are a method commonly used at this stage, as are paper checklists.
Even though it's a dated approach, paper checklists can help you manage your tasks in a practical way when you start out.
Some cloud-based spreadsheet tools and customer relationship management (CRM) functions may be helpful, but because they're not 100% focused on real estate, they're often not optimal for offices with more than ten agents.
2. General software

General software solutions that are made for anyone, not just real estate professionals, are another option. These products often include cloud-based spreadsheet tools and even CRMs.
Both can help track key dates in a way that allows more than one user to see them, but it often remains a manual process that's more susceptible to error.
3. Purpose-built software

The best option for successful companies is software designed specifically to support the real estate transaction process.
With Paperless Pipeline, brokers and independent transaction coordinators alike can track key dates and milestones with automated checklists.
This workflow allows for a clearly defined process that makes it easier for you to manage updates and changes. It also enables you to sync items to external calendars automatically, which makes sharing these dates with clients and third parties incredibly simple.
How to Share Transaction Milestones with Agents, Clients, and Other Contacts

With Paperless Pipeline, customers can easily share transaction key dates and milestones with anyone, including in-house agents and staff, co-op agents, home buyers, sellers, and other transaction contacts.
By using email templates and auto-fill tags, you can set up templates such as:
- Introduction emails: These emails can be set up to reflect all the critical due dates. This includes the home and pest inspection, financing, appraisal and mortgage pre-approval, contingencies, option period, and due diligence dates, which can all be auto-filled.
- Milestone notifications: You can send milestone notifications or announcements with clear reminders about what needs to be done next, what's been done, and anything else that's needed as the transaction moves through all its phases.
- Progress updates: With just a few clicks, you can send your clients and agents quick updates about the deal's progress—including all upcoming key dates.

Try Paperless Pipeline and See How Simple Transaction Management Can Be
Paperless Pipeline is designed to make the transaction management process smooth, ensuring that no tasks fall through the cracks.
Our software automates and streamlines the entire process, meaning you'll never miss a critical due date or important milestone.
We're so convinced that you'll love Paperless Pipeline that we're offering you a full-feature free trial to test out our software. Visit our website to learn more and claim your 14-day trial.